


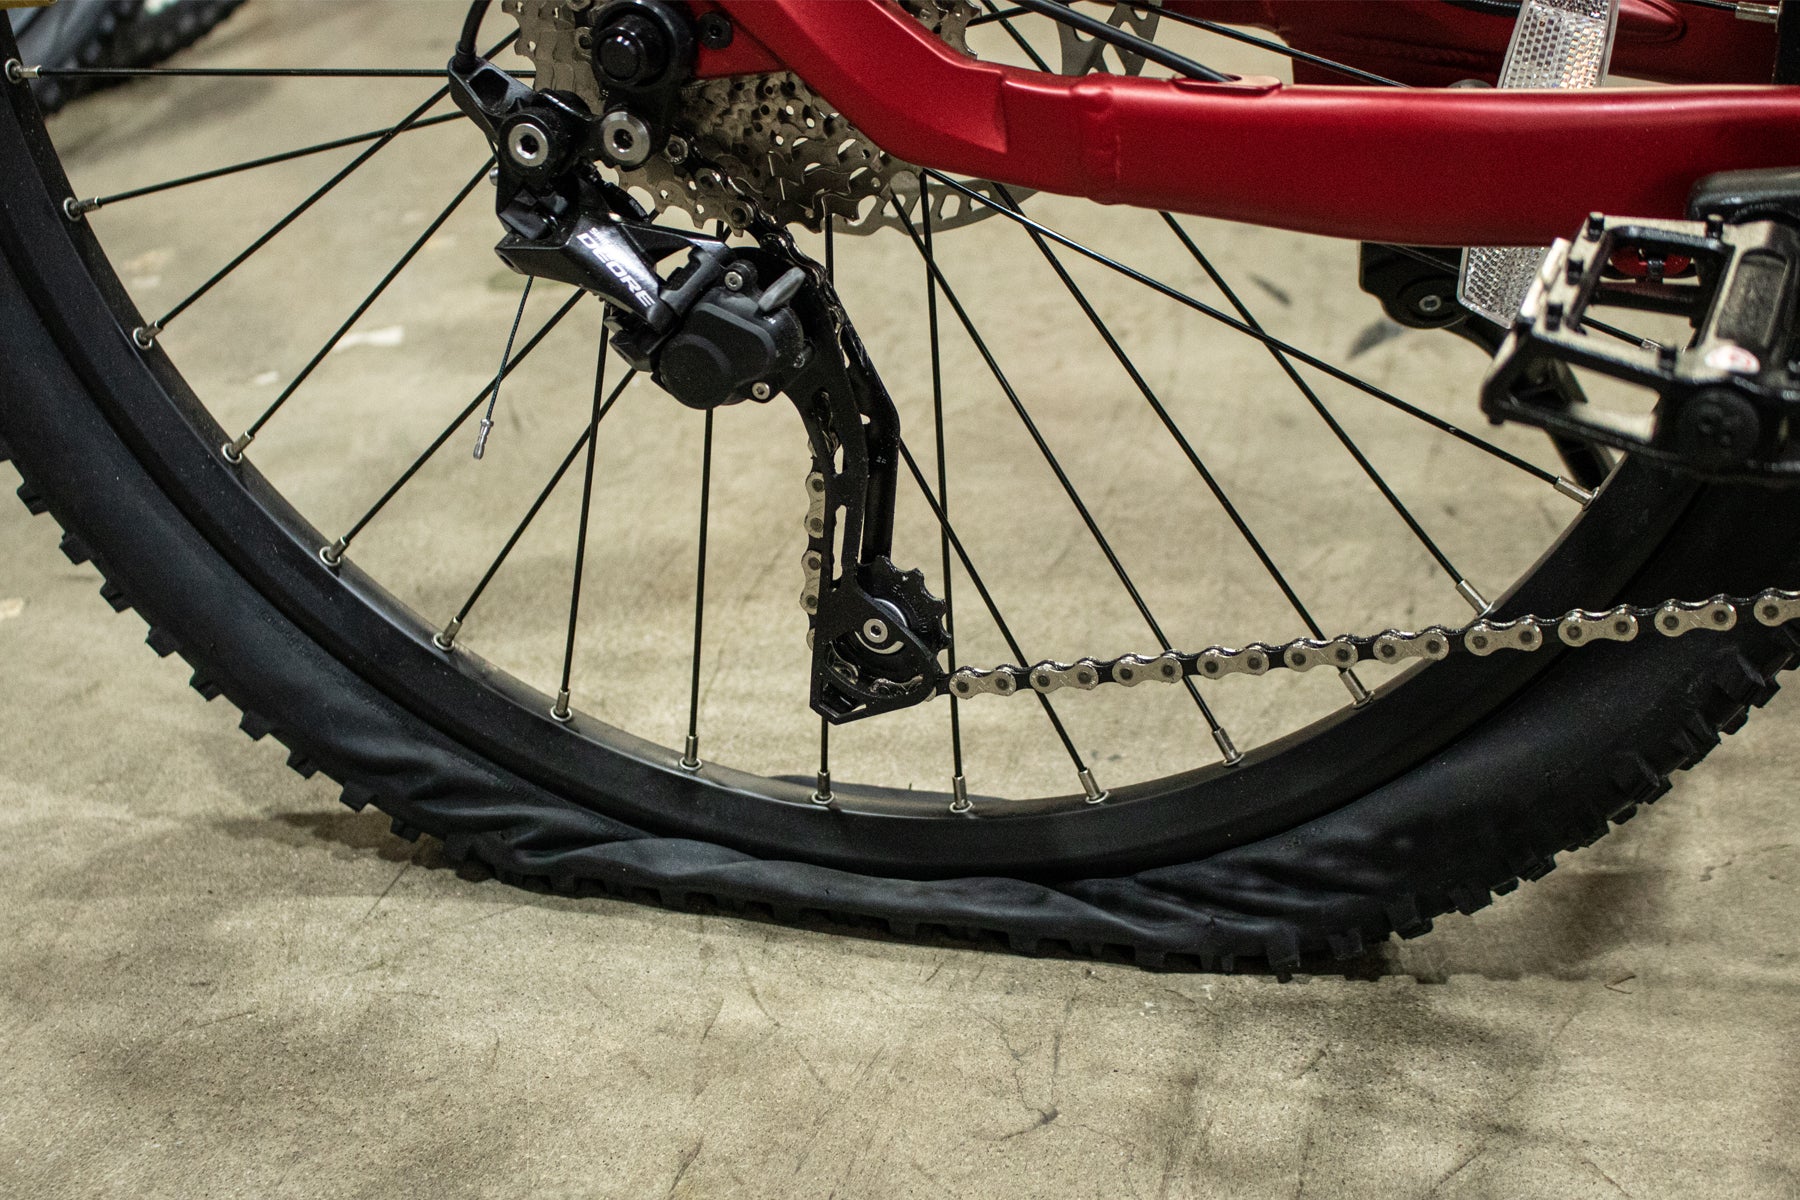
The process for replacing a bike tube is the same for the front and rear tire. For the purpose of this blog we will be explaining flat tire replacement/repair for the rear tire.
Tools needed
- Spare tube

- Tire levers

- Either a floor pump or hand pump

- pliers

Wheel removal
Step Through 2.0, F5 Trail, Bandit, Gladiator 2.0, Blade 2.0, The Weapon
Step 1:
Shift gear to the smallest gear
Step 2:
Release brake with the brake release lever
Step 3:
Unscrew and remove the axle bolt.
Step 4:
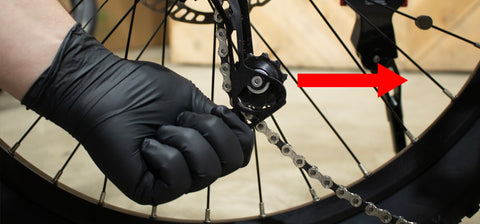
Push the derailleur arm forward to give your chain some slack and remove the chain from the chain ring and the cassette. (Some derailleurs have lock in buttons so you don't have to hold the derailleur forward for this process)
Step 5:
Your wheel should be free to remove!
Step 6:
Lay bike down on the non-drive side somewhere safe!
Babymaker 1 & pro
Step 1:
Loosen tensioner bolts on both sides without fully removing them.

Step 2:
Loosen axle nuts.
Step 3:
Remove bottom bolt on brake caliper and loosen the top bolt ever so slightly. This allows you to rotate the caliper upwards for easy wheel removal. (Leaving the caliper on will block you from sliding the wheel out)

Step 4:
Slide wheel forward, to allow enough slack to release the belt from the cogs.
Step 5:
Once the belt is free from the cogs slide the wheel back to remove!
Step 6:
Lay bike down on the non-drive side somewhere safe!
Babymaker II
Step 1:
Loosen tensioner bolts on both sides
Step 2:
Loosen axle nuts
Step 3:
Slide wheel forward, to allow enough slack to release the belt from the cogs.
Step 4:
Once the belt is free from the cogs slide wheel back and you should have a wheel free to remove!
Step 5:
Lay bike down on the non-drive side somewhere safe!
Blade 2.0
Step 1:
Remove the Rohloff shifter. Flat head insert photo

Step 2:
Loosen tensioner bolts on both sides

Step 3:
Loosen axle nuts
Step 4:
Slide wheel forward, to allow enough slack to release the belt from the cogs.
Step 5:
Once the belt is free from the cogs slide wheel back and you should have a wheel free to remove!
Step 6:
Lay bike down on the non-drive side somewhere safe!
Replacing tube
Step 1:
Starting near the valve stem, take the scooped end of your tire lever and pry the lip of the tire over the rim of the wheel frame.
Step 2:
Once the lip is over the rim attach the hooked end of the tire lever to the nearest spoke.
Step 3:
Take your second tire lever and with the scooped end pry the lip of the tire over the rim of the wheel frame about 2 inches from the valve stem. Once scooped, run the lever around the wheel to release one side.
Step 4:
Next completely remove the valve nut
Step 5:
Once the valve nut is removed push the tire away from the rim enough to pull the valve stem completely out.
Step 6:
When the valve stem is out, pull the tubing out of the wheel.
Step 7:
Next visually inspect the outside of the tire while running your fingers on the inside to feel for anything sharp. (Cautiously remove anything that caused a flat or will cause another flat with a pair of pliers.)
Step 8:
Now you're ready to insert a new tube! (tip: inflate the tube slightly to give it enough shape for easy installation)
Step 9:
Starting back at the valve hole, insert the valve stem and tuck the tube inside the tire working your way around the whole wheel.
Step 10:
Starting at the valve stem use both thumbs to push the lip of the tire back over the rim working your way around the wheel. (tip: you can use the scooped end of the tire lever to tuck the tire into the rim if your thumbs aren’t strong enough.)
Step 11:
After you fully tuck in the tire, Inspect the tire to make sure the tube isn't pinched between the tire and the rim. To do this push the tire to the side to check for pinches along the rim. Failing to do so will cause a blow out when pumping your tire.
Step 12:
Reinstall valve nut, pump your tire and you're ready to rock and roll!
Step 1:
Slide wheel back in place.
Step 2:
Push derailleur forward, and align teeth to chain slots. To avoid unnecessary damage, align teeth to the correct chain slots. (Thick teeth alight with the bigger slots, slimmer teeth alight with the smaller slots) Once properly slotted, slowly release derailleur to tension chain.

Step 3:
Screw in the Through axle, and you're ready to rock and roll!
Step 1:
Slide Wheel back into place
Step 2:
Loop belt back into place, lining the teeth in between the cogs.
Step 3:
Reinstall the caliper by rotating the caliper downward in place and screwing in both bolts tightly.
Step 4:
Tighten axle nuts
Step 5:
Don't forget to tension your belt and you're ready to rock and roll! Tensioning Tutorial
Babymaker II
Step 1:
Slide Wheel back into place
Step 2:
Loop belt back into place, lining the teeth in between the cogs.
Step 3:
Tighten axel nuts
Step 4:
Don't forget to tension your belt and you're ready to rock and roll! Tensioning Tutorial
Blade 2.0
Step 1:
Slide Wheel back into place
Step 2:
Loop belt back into place, lining the teeth in between the cogs.
Step 3:
Reinstall Rohloff shifter

Step 4:
Tighten axel nuts
Step 5:
Don't forget to tension your belt and you're ready to rock and roll! Tensioning Tutorial
Flat tire prevention
- Using powder on your bike tire tubes reduces chafing and friction.
- Watch your PSI
- Replace tires regularly
- Add extra protection
Share:
Bike Etiquette For Beginners
The Importance of Helmets